So, you have a lot of old photos scattered in boxes and old albums in your basement and attic. If you agree with my case to scan your old photos yourself and you decided to skip an overpriced photo scanning service and help cash in on your memory dividends this article is for you. You’ve taken on a big job, but a very rewarding one—I think you will love the results. As my wife and I embraced minimalism and downsized our personal possessions by 98% in preparation to become full-time nomads, we digitized all our old photos and then discarded the old hard copies. We couldn’t be happier with our decision!
Below are the detailed steps we followed (and valuable lessons we learned) while culling our approximately 10,000 hard copy photos down to 7,000, scanning them, and integrating them into our digital photo collection. In addition to finally dealing with our decades of hard copy photos, we culled and organized our unwieldy digital photos, making our final combined, refined, and organized collection complete and easy to enjoy. I hope this will help you as you tackle your own photo scanning project. If you have questions, please leave me a comment and I’ll do my best to answer.
Decide on a photo software solution to manage your digital photo collection.
We decided to use Google Photos. We were already using it and liked the search and facial recognition features. It was the easiest for us. There are likely other programs that will work as well or better (Reddit may be a good place to get recommendations).
Buy a photo scanner.
We purchased the FastFoto FF-680W Wireless High-speed Photo Scanning System for about $600. It worked beautifully for the scale of our project. The process outlined in this post is based on using this particular scanner. Another scanner may require a slightly different process. Here is what I liked about it:
- It allowed me to insert up to 36 photos in the scanner feed slot at once, and more than one group of photos could be scanned into the same batch. [For this article, I use “group” to mean a stack of up to 36 photos (max allowed by the scanner), and I use “batch” to mean all of the groups scanned at once under the same month and year and file name.]
- FastFoto software allowed me to add the month and year to the photo file metadata. This ability is critical to the usability of the final collection; some scanners out there do not have this function.
- Scans at 300 dpi (dots per inch), 600 dpi (standard), and 1200 dpi. I used 600 dpi for most of the photos.
- Allowed wireless scanning, so I didn’t need to wrestle with a cord between my laptop and computer.
- Worked well with my Macbook Air laptop. (I can’t speak for PCs, but the scanner software supported both.)
Gather your Photos.
Gathering as many hard copy photos as possible before starting will help avoid surprises of finding more later,and increase the efficiency of the scanning process.
- Gather all albums, scrapbooks, loose print photos in boxes, unique photos from frames, etc. We found photos in our files, between pages of books, with our kids’ school artwork, among work papers, in frames, and in the backs of drawers. We were dramatically downsizing, and we were surprised at where photos appeared.
- Also gather all your “loose” electronic photos: emailed photos, thumbdrives, photos in messages, etc.and pull them into your photo management software to create a complete collection.
Cull Your Photos (to include digital).
Cull your digital collection first. Since we embraced digital photography, we all began taking tons of photos—perhaps seven of the same sunset, twelve of the same soccer team holding up their trophies. We intended to select the best one to keep, but time passes, lives are busy, and the digital photos piled up. In our case, there were thousands of digital photos that needed to go. Do this first, and make sure the “loose” photos you’re keeping from emails or old thumb drives are integrated chronologically. Once you’ve got the digital collection in shape, it won’t be as daunting to add the thousands of newly scanned hard copy photos.
- To avoid scanning unnecessary photos (and later having to cull them or sort through them online), throw away the photos that are duplicates (or near duplicates) and that don’t provide a meaningful memory jogger of the people or event being documented. Similar photos of the same thing (e.g., my wife and I each took hundreds of photos of Egyptian hieroglyphics) can overwhelm an event and make it difficult to find the photos you care about and that truly capture the location or event.
- This can be done as part of your organizing effort described below. We culled as we carefully removed photos from old albums and organized them into scannable groups.
- Culling our photos (digital and hard copy) was part of our decluttering process. Just as having too many physical possessions can be overwhelming, too many photos of the same event can be as well.
Organize your hard copy photos for scanning.
This step represented a lion’s share of the work in the project. We set out the photos as we organized them on a long table.
- Carefully remove photos from albums, scrapbooks, frames, etc.
- Remove as much residue from the back as possible (dried glue, bits of paper, and adhesive). Be fastidious about this to minimize rejections in the scanner.
- Organize them on your table in chronological order, photo side down, in groups of up to 36 (the maximum the scanner will handle at once). We set 30 as our target to be safe as it is easy to scan more than one group at a time.
- On the backside of the groups (the side facing up) label each group using a small Post-It with the month and year (additionally label with event and location when possible—optional, but helps in future searches), and the number of photos in the group (to help verify that all were scanned). For example “Oct 1997, Purdue graduation, Indiana, 34” or “Dec 1998, Yucatan, Mexico, 36.”
- Each group of photos was laid partially on the previous group but with the Post-it still visible to conserve space since we had so many photos.
- Photos in each group should be generally organized by photo size and turned so the photos enter the scanner in the same direction. We turned all the vertical photos so the top faced the left.
- If there are major size differences in the photos in a group, then they need to be pulled out and scanned as a separate group. For example, if you have an 8×10 of a graduation, scan it as a separate group in the batch.
Set-up your scanner.
- The scanner has a setting for dpi. You may wish to scan a few photos at different dpi to experiment and see what you feel is the right balance between quality of photo and size of digital file. (I used 600 dpi for most of our photos).
- You also need to decide if you want the scanner to automatically adjust for red-eye and/or color. I found these adjustments to be hit or miss, so I just scanned the photos as they were without these adjustments.
- I found the wireless feature to be nice as I didn’t have to have a cord connecting my laptop with the scanner.
Scan your photos
- Pick up a single group of photos, setting the Post-It label nearby for reference. Lightly fan the photos in case there is still a tiny bit of leftover glue/residue that can cause a jam, then put the group in the scanner.
- Select the month and year in the software and add a file name description. I tried to include the general location that represented the majority of photos in the batch.
- Select the file location for the scanned files to be saved to. I created a “Scanned Photos” folder. Once the file is selected, the software will default to that location unless you change it. See “Managing scanned photo files” below for more details.
- Reduce the size of your batches for better chronological and location results in the metadata. This takes more time and effort, but it’s worth it for the usability of your final collection. For example, in some months we did several interesting things—visited family over Christmas in Washington DC, took a trip to Mexico. If I select December 1998 and then add a file name “Washington DC Mexico Others” then the photo files will be named “1998_December_DC Mexico Others_XXXX” [the last is the unique number each photo is given in the batch like 0001, 0002, etc.]. Then when I search for “Mexico” in Google Photos, all of the pictures in this batch (to include the DC photos and any others) will return in the search results. To avoid this, I would need to separate out the Mexico photos into a separate batch for that same month. This is more work, but you get better results.
- Select the scan photos button.
- Keep an eye on the photos being scanned, especially if there are unusual shapes or ones with residue on them, to watch for double scans or catch jams.
- Once the group is through, check the count on the software with the Post-it note total. If they don’t match you will need to review the photos to see if one or more didn’t scan. See below for trouble-shooting scanning problems.
- Add the next group you want in the same batch (i.e., same month, year, and file description) into the scanner feed. The software will ask if there are more photos to scan – select “yes” if you do. Select “no” if you don’t, to end scanning that batch.
- Once I completed a batch, the FastFoto software would show me a thumbnail of the photos scanned. I used the rotation function to correct any rotation mistakes to ensure that the photo file had the correct rotation (The software does pretty well with rotation, but it misses some).
- The software saves the batch into a separate folder under the folder you designate using the date and name you provided for the batch (e.g., “1998_December_DC Mexico Others”).
- Since the newly created scanning files were so large (some were 16MB each), I didn’t want them to eat up all of my Google Photos cloud storage and I wanted to more easily access the files using whatever connection my phone might have, so I added a process to make the files smaller before transferring them to Google Photos (see “Managing scanned photo files” below). You may decide differently.
- Repeat the scanning process for the next batch and the next until you’ve got through them all.
- Important Note: once you start making date changes and photo edits in the photo management software after you finish scanning (not the scanner software), those changes are not included in the photo file metadata and will likely be lost if you later change software programs. That is why scanning by month and year, adding a useful filename, and fixing the rotation during the scanning process will give you better results. The more you fix afterwards in the software, the more work you stand to lose by switching software programs.
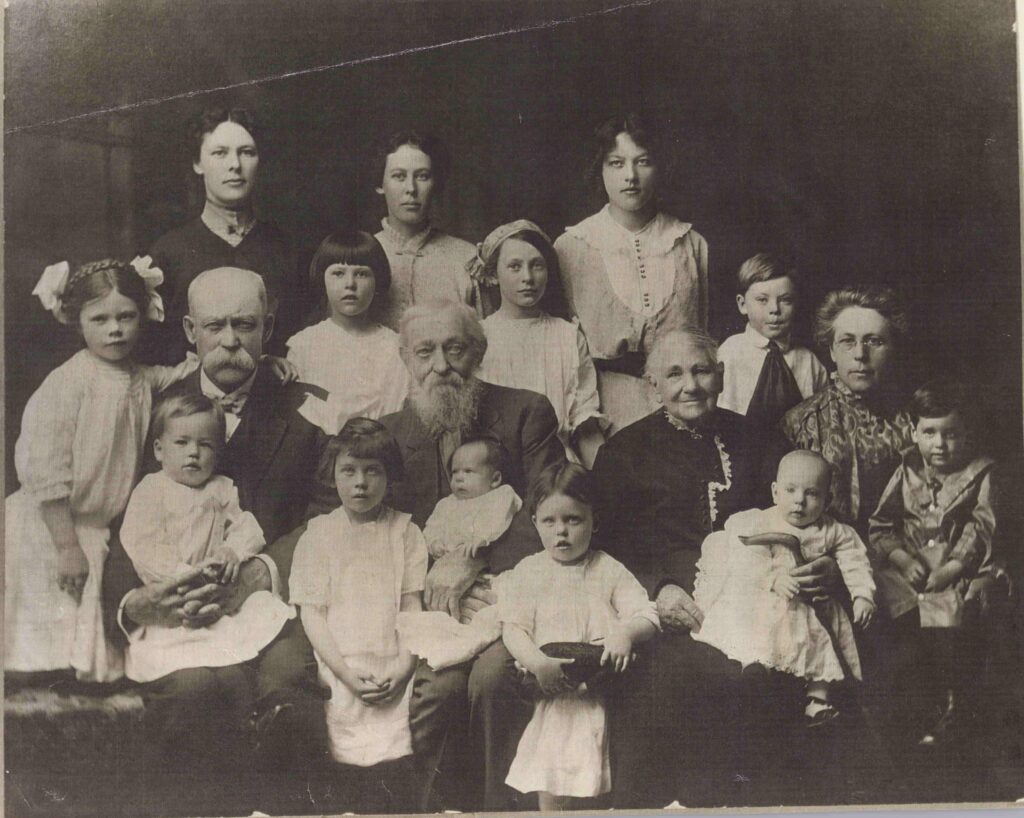
How We Handled Ancestor Photos (dates unknown).
- We had several albums and many frames with old family photos from the 1800s, most of which we didn’t know the exact dates (or even what year).
- Instead of trying to pick the dates, we created batches that were in general chronological order and then picked an old year (e.g., 1930) that would catch our attention in Google Photos and pre-date the rest of our collection from our own lives.
- We then scanned in batches using different months to separate out the batches. The oldest batch was January, 1930, the next was February, 1930. We didn’t need beyond December, but we could have continued with January, 1931.
- For my historic family photos, we used 1930. For my wife’s historic family photos, we used 1935. This way they could be easily found and not intermingled.
- We entered notes on many of the old photos into our photo management software so we could be reminded of who the picture was of and other pertinent details. Several of my wife’s family photos had a date on the back, so she entered that date into the notes on the photo. She didn’t use that date in Google Photos, though—she kept it in “1935” so they were all together, easy to find and enjoy.
How We Handled School Photos
- Most of our photos of our kids are digital, but we did have a nice 8×10 hard copy of each year of their school photos to scan in. We valued being able to go from the Kindergarten to Senior picture and see how they grew and matured in just 13 pictures.
- To be able to do this digitally, we decided to scan them in as a single batch. Once the batch was scanned in, we then put them into a single album (for easy viewing) and then modified the dates in the software to align with the start of each school year and to integrate with our digital collection.
- An alternative would have been scanning each one as a separate batch (of one photo) and using the month and year the photo was taken in the scanner software. Then we could have found each one in our photos and put them in a single album.
Troubleshooting tips for scanner and scanning
- Overall, the scanner worked well for clean, traditional photos, but since many photos (about 15%) were from scrapbooks, were unusually sized, or had sticky residue from the photo albums, I needed to provide some extra care to get them scanned.
- Photos with a lot of paper or glue made the scanner think that two photos were going through at once and it would stop and give an error. I retrieved the offending photo and then fed it through in the same batch again. If that didn’t work, then I would try again rotating the photo when placing it in the scanner feed (i.e., different side or upside down)—this usually did the trick.
- The sticky residue would occasionally cause the scanner to indicate that it needed to be cleaned. The scanner came with a soft cloth for wiping the scanner clean. Don’t ignore the warning—doing so could cause the scanned files to have vertical lines on them caused by the adhesive “dirt” on the scanner glass. It cleaned off easily and reset.
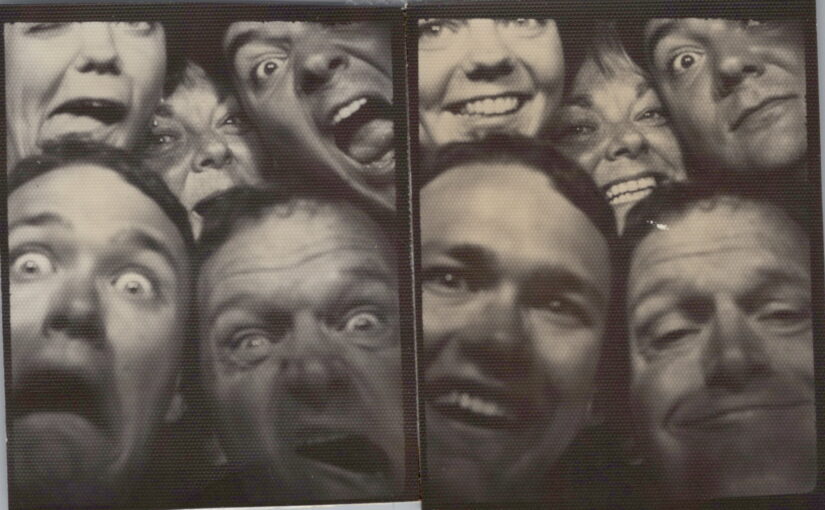
- For small photos like wallets or booth photos that wouldn’t fit on the two rollers in the feed slot, I would tape two related photos together or tape one to a thin piece of white card stock (which I could crop out later).
- For photos that had been cut into unusual shapes, I inserted them along the straightest line. For a couple I gently glued them to a piece of white paper, but the scanner often thought this was two photos at a time. With patience, though, I eventually got almost every unusually shaped photo to scan.
- For old Polaroid style photos that were thicker and had slight air pockets (which the scanner would reject as too thick), I cut out the top layer photo and scanned the photo by itself.
- In the end we took a photo of 5 photos that just wouldn’t scan but we didn’t want to be without. Not bad for scanning 7,000 photos!
Managing scanned photo files
- After I had scanned about 1,000 photos, I would rename the “Scanned Photos” file to “Scanned Photos Jan 1973-Dec 1978” (or whatever date range fit the photos) and then create a new folder called “Scanned Photos” in the same place as where I previously had it so the FastFoto software would still default to it as I scanned more photos. I did this as I didn’t want to take a chance of having a single folder get corrupted and losing all of my work.
- I also took the time to adjust the size of the scanned photo files after each batch (so I wouldn’t lose track). You could decide to adjust them all at once, but I liked getting photos to the finish line as I went and seeing that they arrived into Google Photos looking good before scanning them all.
- Here is the photo file size reduction process I used with my Macbook Air:
- Opened newly created photo folder in Finder.
- Selected all of the photos.
- Under the File menu in Finder, I selected “Open With” and then selected “Preview.”
- Once all of the photos in the batch opened in Preview I selected then all in Preview.
- Under the File menu in Preview, I selected “Export Selected Images…”
- I then selected “Show Options” at the bottom.
- I used the file quality slider to reduce the photo file size and save the resulting files into a new folder called “Upload to Google Photos.” I noticed that adjusting the slider just a hair from the right made the file much smaller but kept good quality.
- Make sure your destination folder is your “Upload to Google Photos” folder
- Once the photo files are exported from Preview be sure to close preview so it doesn’t include the previous batch in with the new batch and cause duplicates.
- After I resized all of the photos in the folders of the “Scanned Photos Jan 1973-Dec 1978” folder into the Upload to Google Photos folder, I then renamed the Upload to Google Photos folder to “Upload to Google Photos Jan 1973-Dec 1978” (or whatever date range fit the photos) and then create a new folder called “Upload to Google Photos” in the same place as where I previously had it so Preview would default to it on the next round.
- I did keep a copy of all original scanned photo files on a separate external hard drive just in case I needed them for some reason.
Storing Back-ups Before Throwing Away The Originals.
We really did throw away all those hard copy photos. We wondered if we’d really be able to do it, but after ensuring they were truly scanned and safe, we found it wasn’t that hard to do—in fact, it was a very rewarding part of the process to let it all go. We freed up all that physical space but had much better access to our photos than we’d ever had in the past. Here was our process for ensuring we had them digitally stored and backed up:
- Before we discarded our physical photos, I did a spot check to make sure the newly scanned files were showing up in Google Photos.
- I downloaded a copy of the whole collection from Google Photos and stored it on an external hard drive with a few other keepsakes in a climate-controlled storage room.
- My son downloaded a separate copy of the full collection from Google Photos onto his server (he’s a computer guy with a redundant hard-drive array).
- We now have three separate copies of our photo collection, located in three different places (the cloud, Washington State, and Virginia) so a fire or a cloud crash wouldn’t destroy our photo collection.
- I update these back-ups from Google Photos every 6 to 12 months with our latest photos. We continue to live abundant lives and take a lot of photos—and continue to cull them!
I hope this guide is helpful as you tackle your photo scanning project. While it was a lot of work, it was worth every minute of effort as we frequently enjoy and share our old photos with family and friends and cash in on our memory dividends! Let me know how it’s going with your scanning project in the comments, and feel free to ask questions—I’m happy to help out as much as I can.